Faded highlights, brassy tones, and patchy balayage? Guilty on all counts. I tend to be a little, laissez faire when it comes to my hair color maintenance. A bit, remiss if you will, but lately, it just looks downright bad. I don’t know how I’ve let my color get so out of control. I keep saying I’ll go to the salon but making the time is half the battle. But why go to a pricey hair salon for an all-over color when I can save time (and money!) doing it myself at home!?
That’s where my new girl crush, Clairol’s NEW Nice ’N Easy color comes in. It has been a while since I last colored my hair myself, so I was a bit nervous, but after reading the instructions I felt like I had it in the bag.
Before & After
Want to know how to get your own rich, natural-looking color at home? Follow the 6 easy steps below.
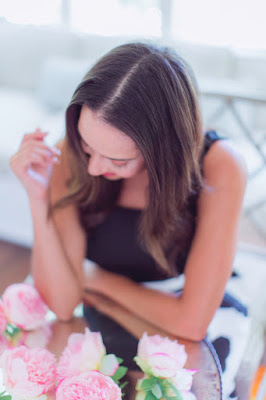
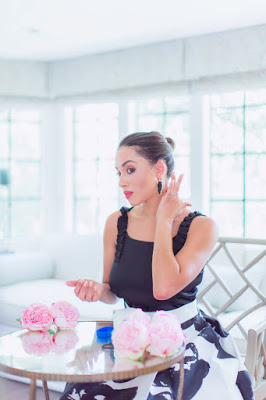 Step 1:
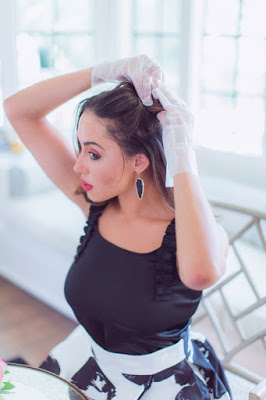
 It doesn’t say this on the instructions, but I’ve learned that putting petroleum jelly on your hairline will save you from having dye all over your forehead once you’ve finished. I applied it all around my hairline and on the tips of my ears.
Tip: Wearing old clothes is highly recommended but I wanted to save you all from staring at my old track shorts. Luckily, no skirts were harmed in the making of this blog post (I told you I had it in the bag ;))
Step 2:
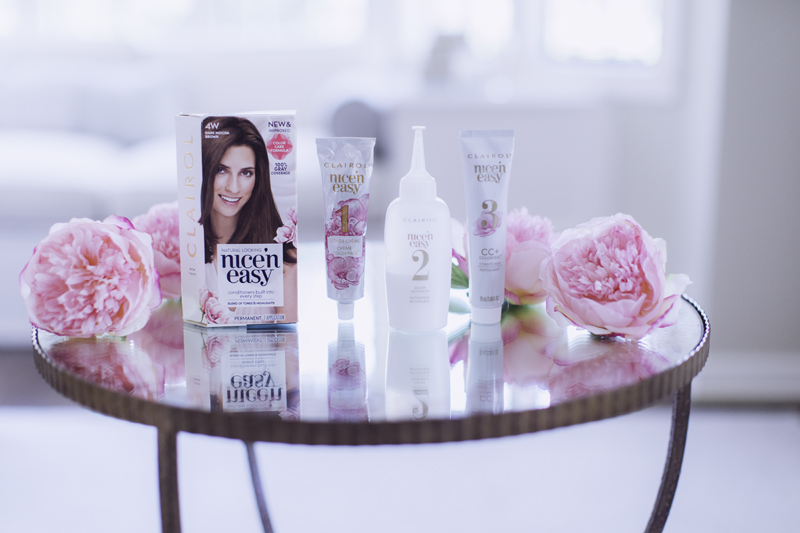
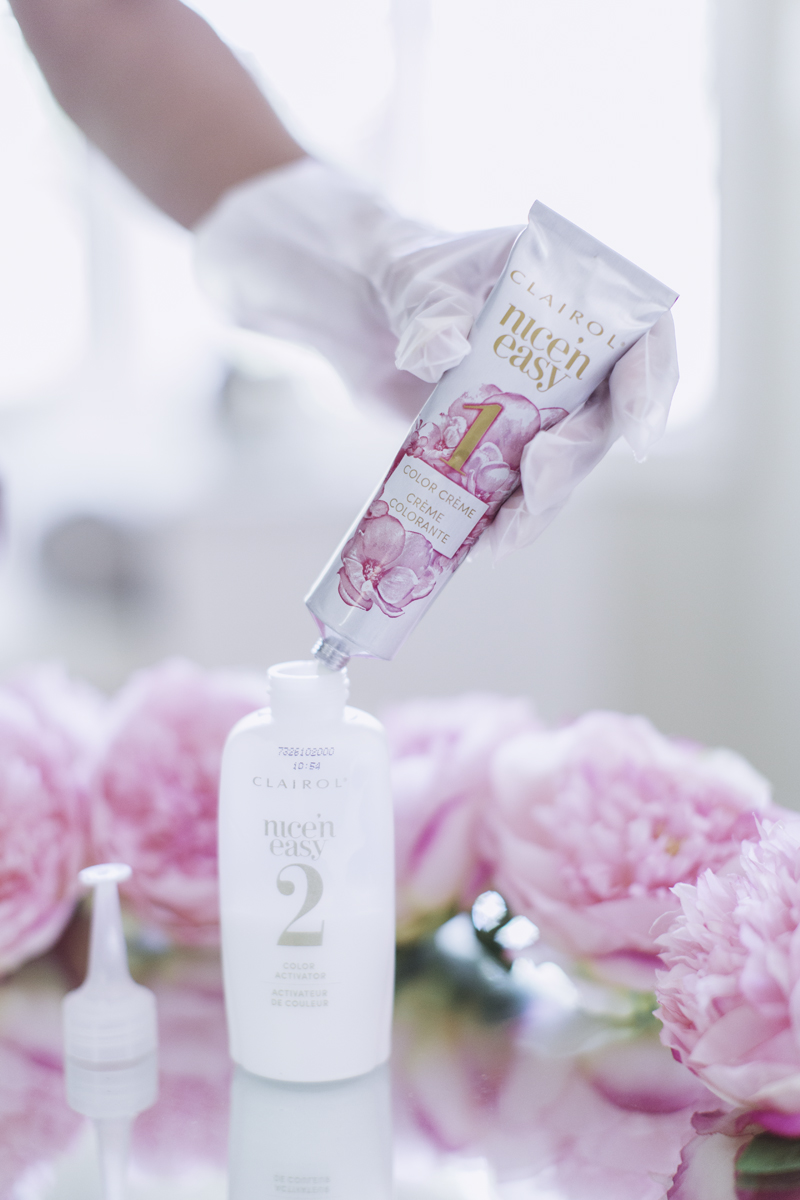
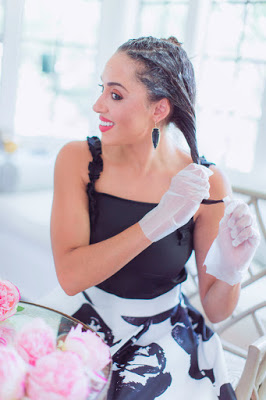
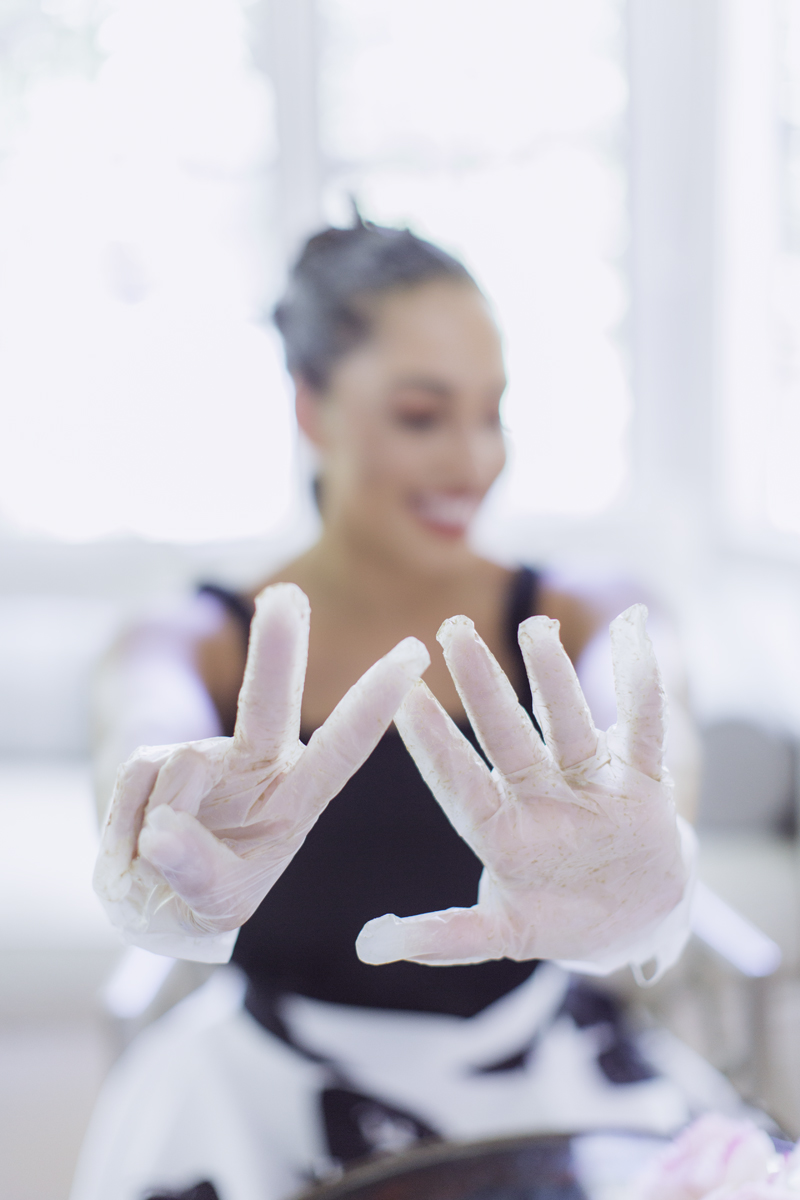
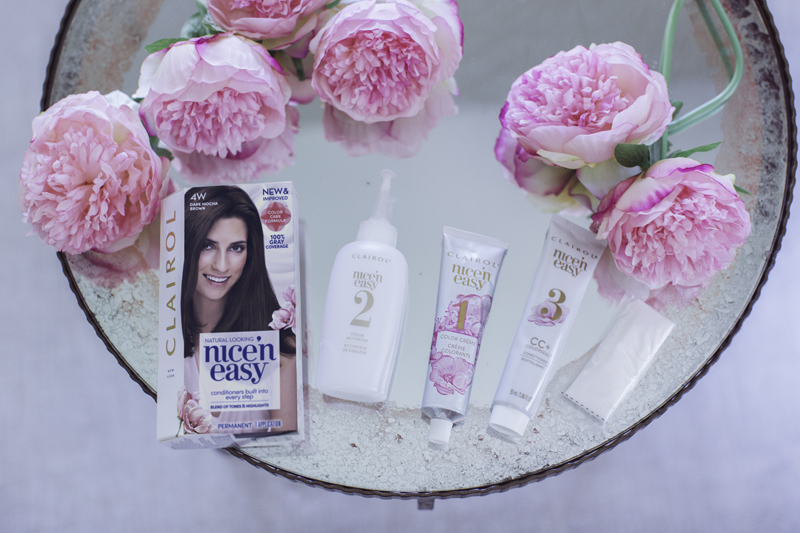
Put on your gloves & Mix Clairol’s Nice ’N Easy Color Activator with the Color Creme in your desired shade. I went with shade 4W, Dark Mocha Brown. Shake until product is blended.
Step 3:
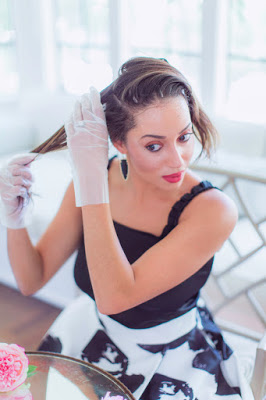
Divide your hair into 4 sections. I did the top half first and worked my way down to the bottom.
Step 4:
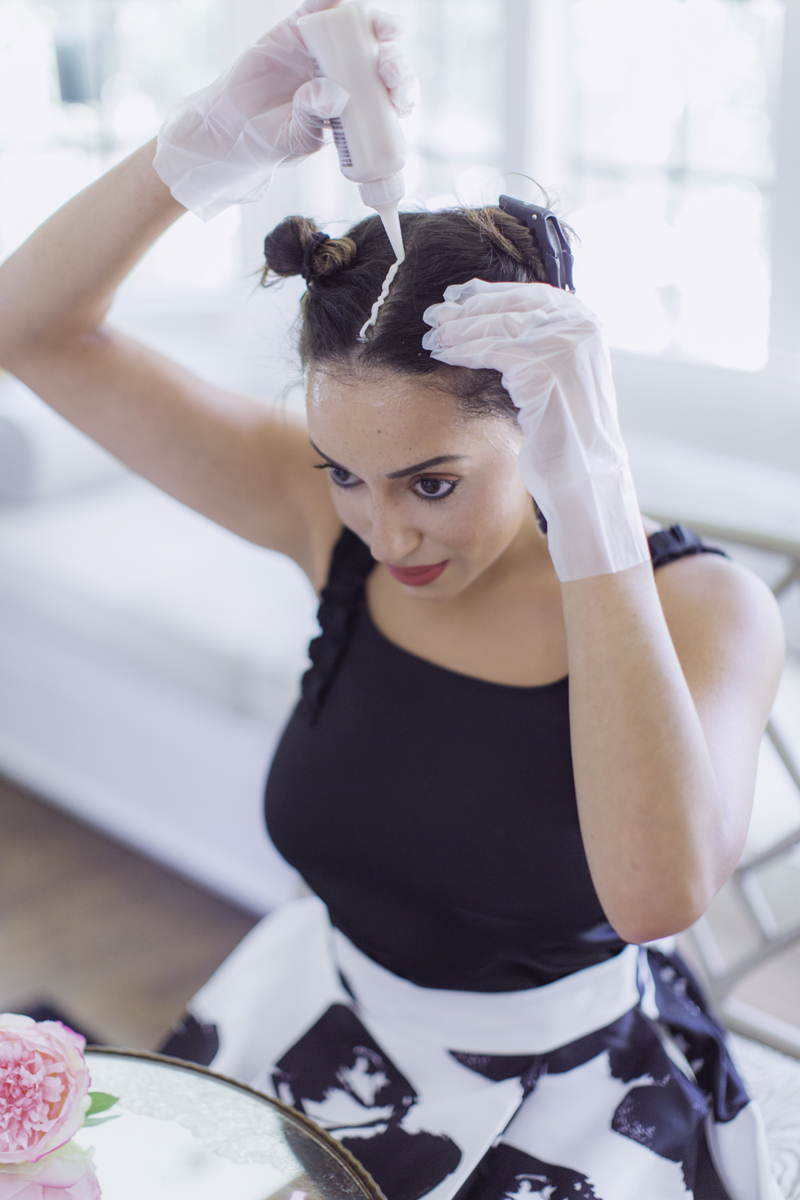
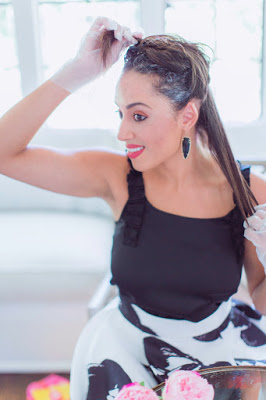
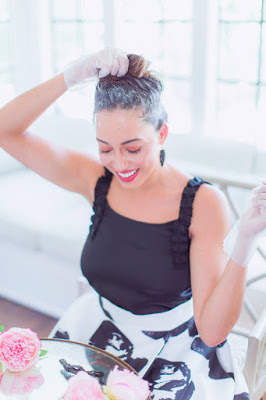
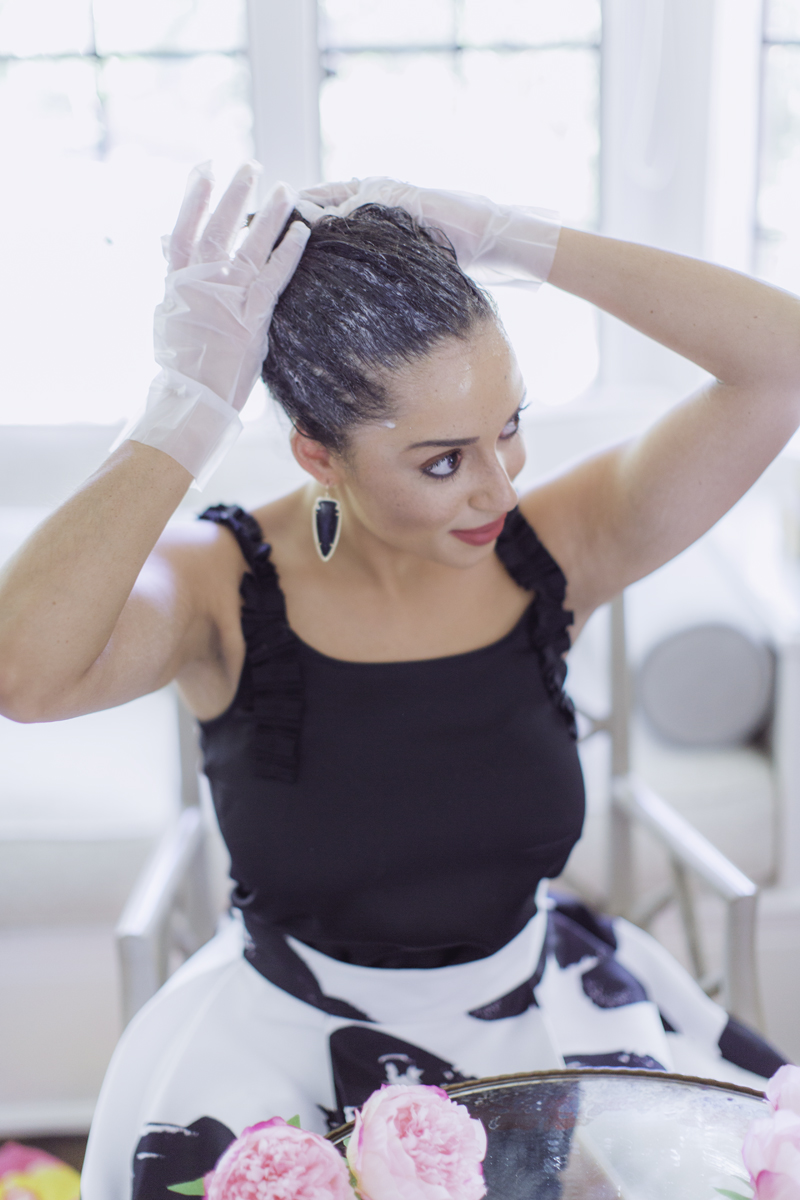
Start applying the color to the top half of your hair in the first 1/4 section. Use the pointy nose on the bottle to part your hair (1/2 inch sections if you have thin hair and 1 inch if it’s thick) adding the color along your roots every step of the way. When you’re finished move on to the other 1/4 sections and repeat the same steps.
Tip: I like to gently rub the dye around on my roots and make sure it’s evenly distributed throughout.
Step 5:
Once all four sections have color on the roots start your timer for 20 minutes.
After it goes off, use the remaining color on the rest of your hair. I like to squeeze it into my hands and work my way through the strands. Once they are all covered you can squirt the remaining product directly onto your head and mix it around. Then set your timer again, this time for 5 minutes. Why? New hair growth needs more time to process and you don’t want to over process your ends.
Step 6:
Once the 5-minute time is done it’s time to rinse and reveal! But before you get your hot tools ready (cue the blow dryer) apply Nice ’N Easy ColorSeal Conditioner to lock in your color and add shine.
Rinse well and get to styling.
Step 7:
Prepare for compliments and an extra pep in your step! Just kidding. But for real, I couldn’t stop smiling! It’s crazy how a fresh color can brighten up your mood, your face and your spirit!
Photos by: Jonny Villanueva
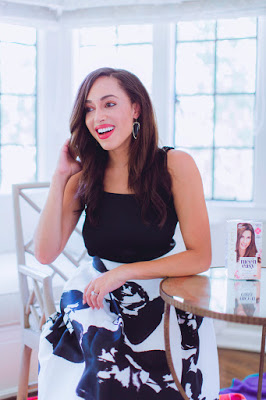
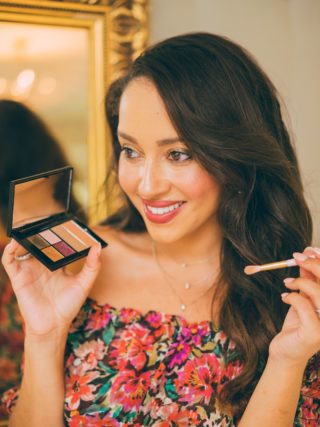
My brassy color has been replaced with a rich, luminous hue, my random grays (too soon, I know!) are gone, and my patchy highlights are thing of the past!
I hope you enjoyed this blog post! I feel like I’m ready to go on a hot date with my fiancé now with my fabulous, new color. I’d love to hear your experiences with doing your own at home color and if you have any tips and tricks feel free to share them below.
A big thank you to Clairol for partnering with me on this post and for making my hair look salon chic without breaking the bank.
Come back and visit me again soon!
Xoxo -E















18 comments
You looking so damn!
Regards.
Dealswithin.com
Thank you so much! Glad you like my new color!
Looks beautiful!
Thank you!
Ok, yes it's called Nice N Easy, but I truly don't think I would have trusted myself to try it out if it wasn't for this post! I usually go dark in the fall, and I think I may have to try to do it myself this time! Thanks for the inspo!
Thanks so much, megan! I'm so glad that you like it. It's really easy, just take your time. Good luck.
This looks so easy and had such a beautiful result!
Thanks so much, Marlynn. I love how it turned out!
Your hair looks great! I normally use box color and have always had good results with it. The last time I used box color (I'm naturally light brown) I did a burgundy/dark red color. After several months (and several boxes of color) I went to the professionals to get the color out. They couldn't even bleach it out and after several strand tests it was determined the only way to fix it was to dye my hair a dark brown. This was not Clairol, but a different box brand. I've never had such bad luck with box color, but I guess there's a first time for everything.
That's terrible. I hope you have better luck in the future. This box color was so great and easy to use. The color turned out just as I thought it would.
Your hair looks amazing! I love how easy this looks to do!
Thank you so much Amanda! It really was that easy and the color came out great, I was impressed!
I love mixing things up a little bit at home. It really does add a pep to your step!
Changing my hair color really did give me a boost of confidence! Thanks Sara!
I love this so much!!!!
I am so glad you like it. Thank you!
You looks so damn!
Regards.
Codesarrival.com
Mobilism
simcity buildit mod apk
dead trigger mod apk